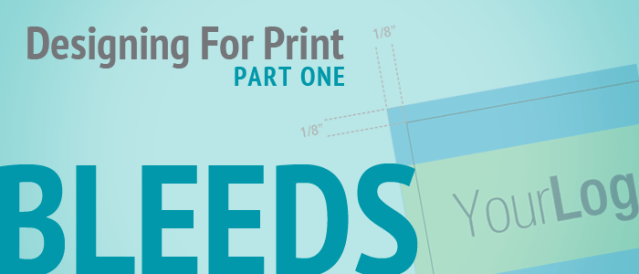
We have had several requests for tips on how to set up files for print. Although we touched on a few in an earlier post, we thought it would be helpful to go into a little more detail. So this is the first of a multi-part series of blogs dedicated to Designing For Print. The thing we seem to receive the most confusion about is bleeds. So let’s learn a little about bleeds. What they are, why you need them and how to set them up in your favorite Adobe software.
What Are Bleeds?
Bleed is a term that refers to the area of the design that extends beyond the actual dimensions of the document. It is used to allow the printer a little bit of fudge room in case there is movement on the press or cutter. If your document doesn’t have bleed, then you may see a small strip of white on the edge of your print where you intended there to be graphics.
Any image, graphic or color fill that touches the edge of your document must extend to cover the entire bleed area. In the USA, the bleed area is generally 1/8″ from the edge of the page. Therefore, you should add 1/4″ to both the width and height of your document.

It is also good practice to add margins to your document so objects in your design don’t accidentally get cropped off. The amount of margin in a design is a personal preference, but most people recommend 1/4″ on each side.

Setting Bleed In InDesign
Setting up your document with bleeds and margins in InDesign is easy. In the New Document window you have the ability to edit several document options including bleeds and margins. Simply enter the correct size and click OK. Your new document will be created with locked guides for bleed and margins. If anything needs to bleed, just make sure you drag it all the way to the appropriate guide.

Setting Bleed In Illustrator
Illustrator now makes it just as easy as InDesign to set up your document for bleed. Simply enter the correct values in the Bleed section of the New Document window and click OK. Again, you will see red guides 1/8″ outside of your artboard.

Setting Bleed In PhotoShop
Setting up your document for bleed is a little more complicated in PhotoShop. There isn’t a bleed option when creating the document. Don’t worry though, a little math and some guides will do the trick.
When creating your document, add in the bleed to the width and height of your page size. 1/8″(.125″) on each side means you add a total of a 1/4″(.25″) to the overall document size. So if you want an 8.5″ x 11″ page size you would enter 8.75″ for the width and 11.25″ for the height.

Next, add some guides to remind you where the trimmed document size lies. An easy way to do this by heading to Select > All, then Select > Transform Selection.
Right click on the W and H options and change the measurements to inches, then enter the normal document size.

Drag guides to the borders of the new selection.

As with the other programs, always be sure your design covers the entire bleed area. You can also use the same steps above to add margin guides.
The Most Important Step
All of this means nothing if you create your print-ready PDF without accounting for the bleeds. However you choose to create your final PDF, make sure under the Marks and Bleeds section that you add in your 1/8″ for bleeds.

Hopefully, this has shed a little light on the bleed subject. As always, if you have further questions, please contact us. Facebook, email, our website or by phone, we are always available to help you out.


